Your GavWraps kit generally includes five (or more) pre-cut decals made from premium printed cast vinyl.
Included pieces:
- 2 × Side Decals
- 1 × Forehead Decal
- 1 × Chin Decal
- 1 × Backplate Decal
These decals are designed as a partial wrap, allowing the graphics to sit naturally on the helmet while keeping installation manageable for beginners.
Tools You'll Need
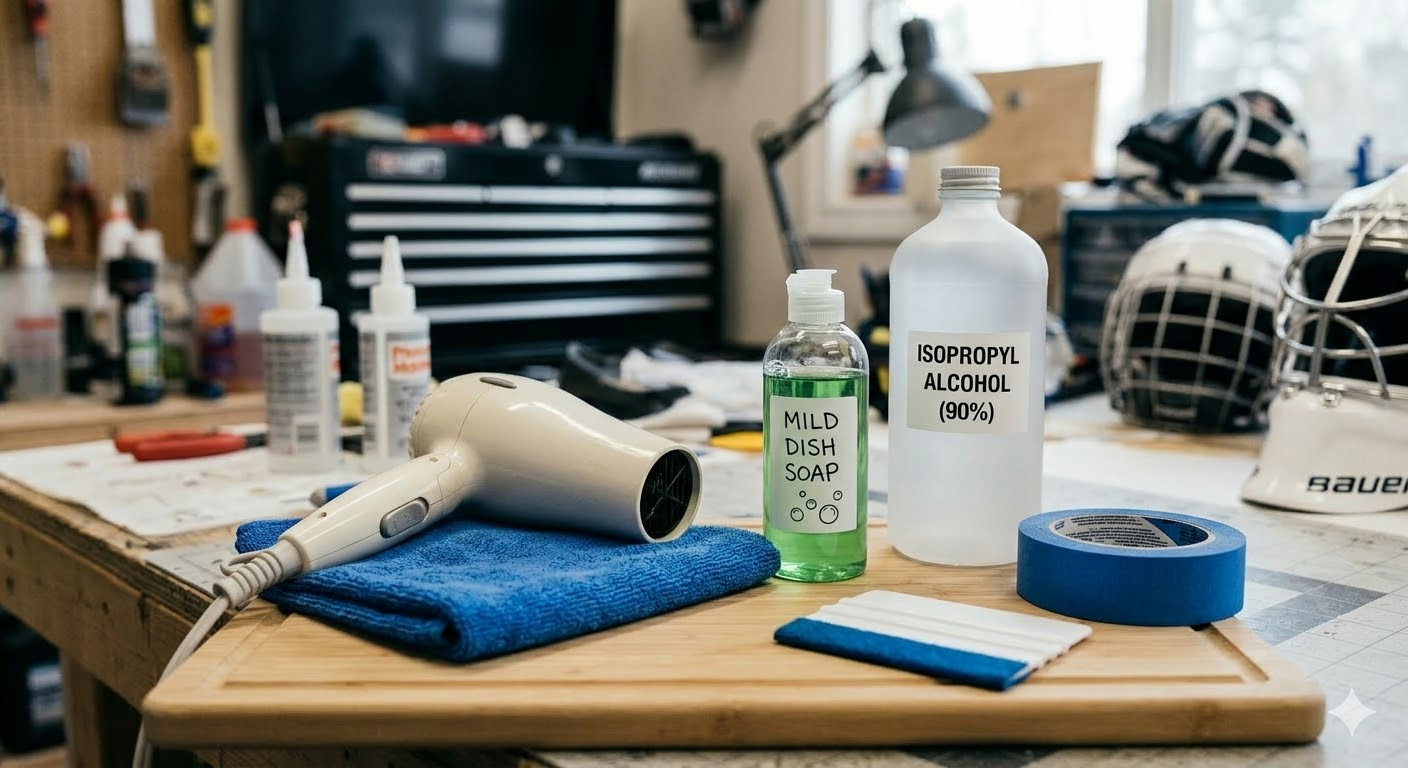
Most installations can be completed using common household items.
Recommended Tools
- Hair dryer or heat gun
- Clean microfiber cloth
- Mild dish soap
- Isopropyl alcohol (70–90%)
- Masking tape or painter’s tape
- Plastic card (credit card works well)
- Small pin or needle (for bubbles)
Optional Tools
- Felt squeegee
- Cotton swabs
- Nitrile or latex gloves
Step 1 — Helmet Preparation
Proper preparation is the key to a professional looking wrap that lasts.
Remove Hardware (If Possible)
- Cage
- Chin cup
- Backplate screws
This makes installation easier and allows decals to sit cleanly around edges.
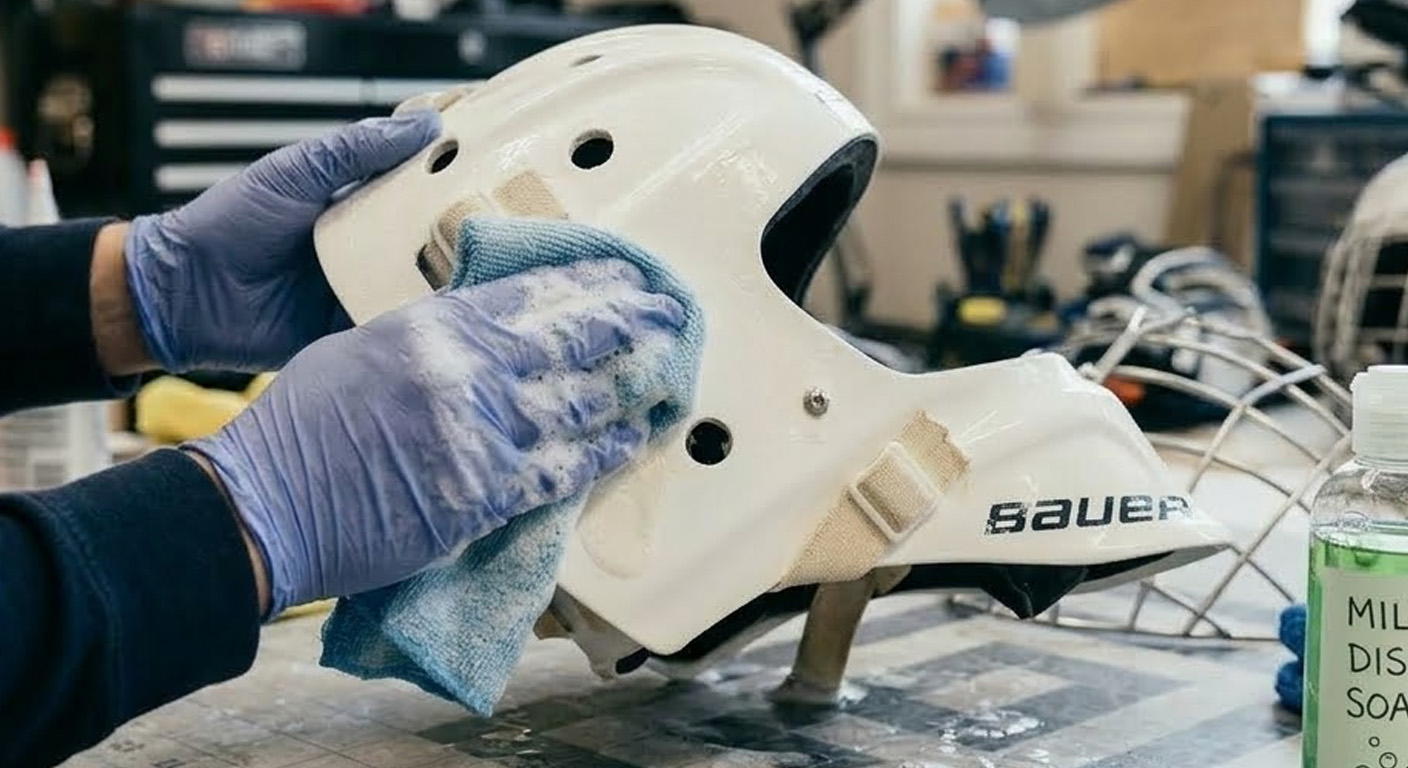
Wash the Helmet
- Use warm water and mild dish soap
- Remove dirt, sweat residue, tape marks, and scuffs
Dry thoroughly using a microfiber cloth.
Final Surface Prep
Wipe the helmet using isopropyl alcohol to remove oils or remaining residue. Focus on curved areas, edges, and vents where decals will be applied.
Understanding Your GavWraps Vinyl
GavWraps decals are produced using professional cast wrap vinyl designed for sports equipment and helmet surfaces.
LSE Adhesive (Low Surface Energy)
Your wrap uses LSE adhesive, which stands for Low Surface Energy adhesive.
Many plastics and helmet coatings naturally resist adhesives. These surfaces are known as low surface energy materials.
LSE adhesive is engineered to bond properly to these surfaces.
- Strong adhesion to helmet shells
- Better grip on smooth plastics
- Reduced edge lifting
- Improved performance on curves
Designed for Cold Environments
The vinyl used for GavWraps is selected specifically for cold rink conditions.
- Maintains flexibility in cold temperatures
- Adhesive remains active in rink environments
- Resists cracking or stiffening
- Handles repeated temperature changes between locker room and ice
Cast Vinyl Memory
Cast vinyl has a natural material memory. When heat is applied, the vinyl naturally wants to return to its original shape.
If the vinyl stretches, wrinkles, or creases during installation:
- Peel the vinyl back carefully
- Apply gentle heat with a hair dryer
- Allow the vinyl to relax back to shape
- Reapply smoothly
Repositioning During Installation
Cast vinyl can be lifted and repositioned multiple times during installation.
The adhesive only reaches its strongest bond once final heat is applied.
General Application Tips
- Work in a warm indoor space (18–25°C)
- Test positioning before applying
- Apply vinyl from the center outward
- Use gentle heat for curved areas
- Take your time
Applying the Side Decals
The side decals are the largest pieces and establish the main visual layout.
- Hold the decal against the helmet to determine positioning
- Create a tape hinge along the top edge using painter’s tape
- Lift the decal and remove the backing paper
- Apply starting from the center and work outward
- Use gentle heat to help the vinyl conform to curves
- Press edges firmly
Applying the Forehead Decal
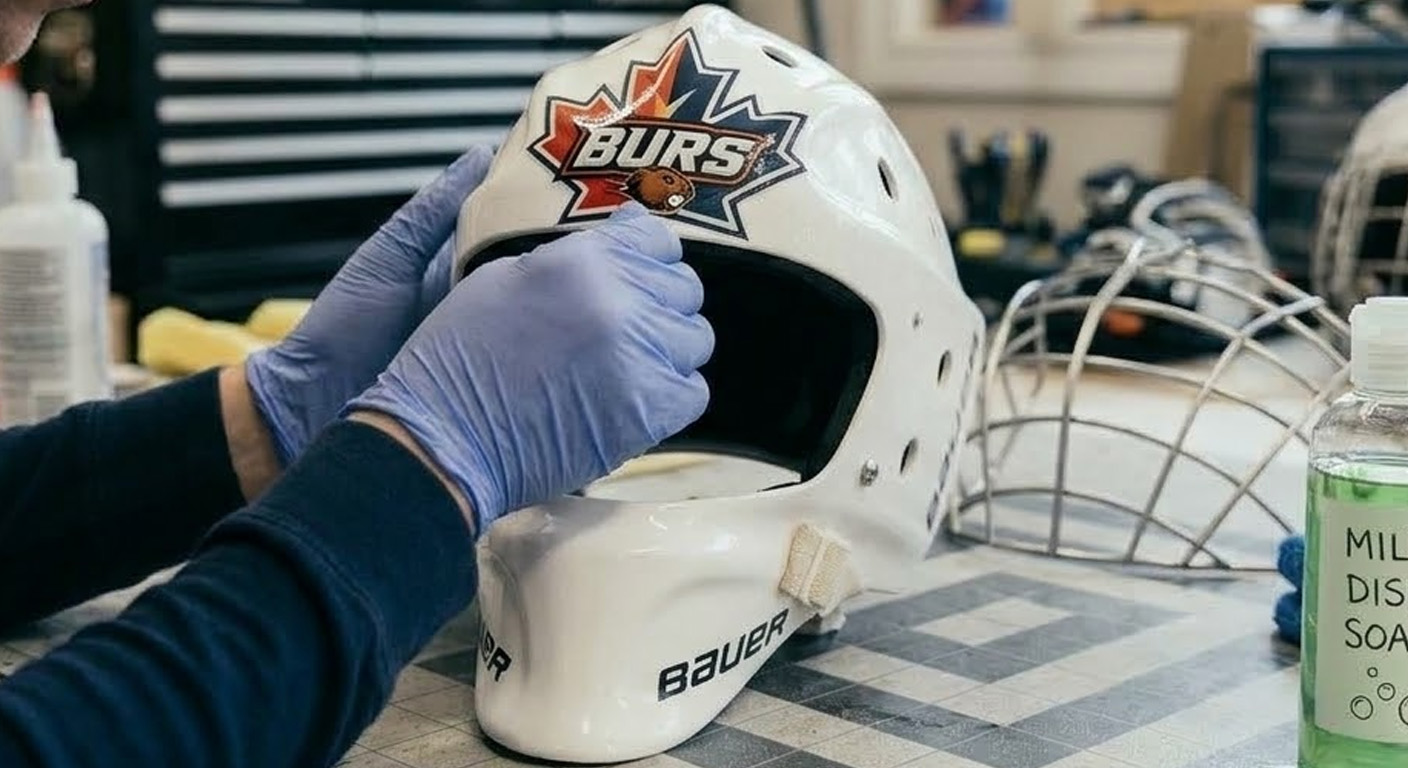
The forehead area has a forward curve, so gentle heat can help with installation.
- Position and center the decal visually
- Create a tape hinge
- Remove the backing paper
- Apply from the center outward
- Use gentle heat if needed
- Press edges down firmly
Applying the Chin Decal
The chin area has tight curves and usually benefits from heat.
- Center the decal below the cage opening
- Create a hinge using tape
- Remove backing paper
- Apply from the center outward
- Use gentle heat while smoothing around curves
- If wrinkles appear, lift slightly, add heat, and smooth again
Applying the Backplate Decal
The backplate has strong curves, so heat is especially helpful.
- Remove the backplate if possible
- Clean with alcohol
- Center the decal
- Apply from the middle outward
- Use gentle heat to help the vinyl conform
- Smooth firmly
- Reinstall the backplate
Bubble Removal
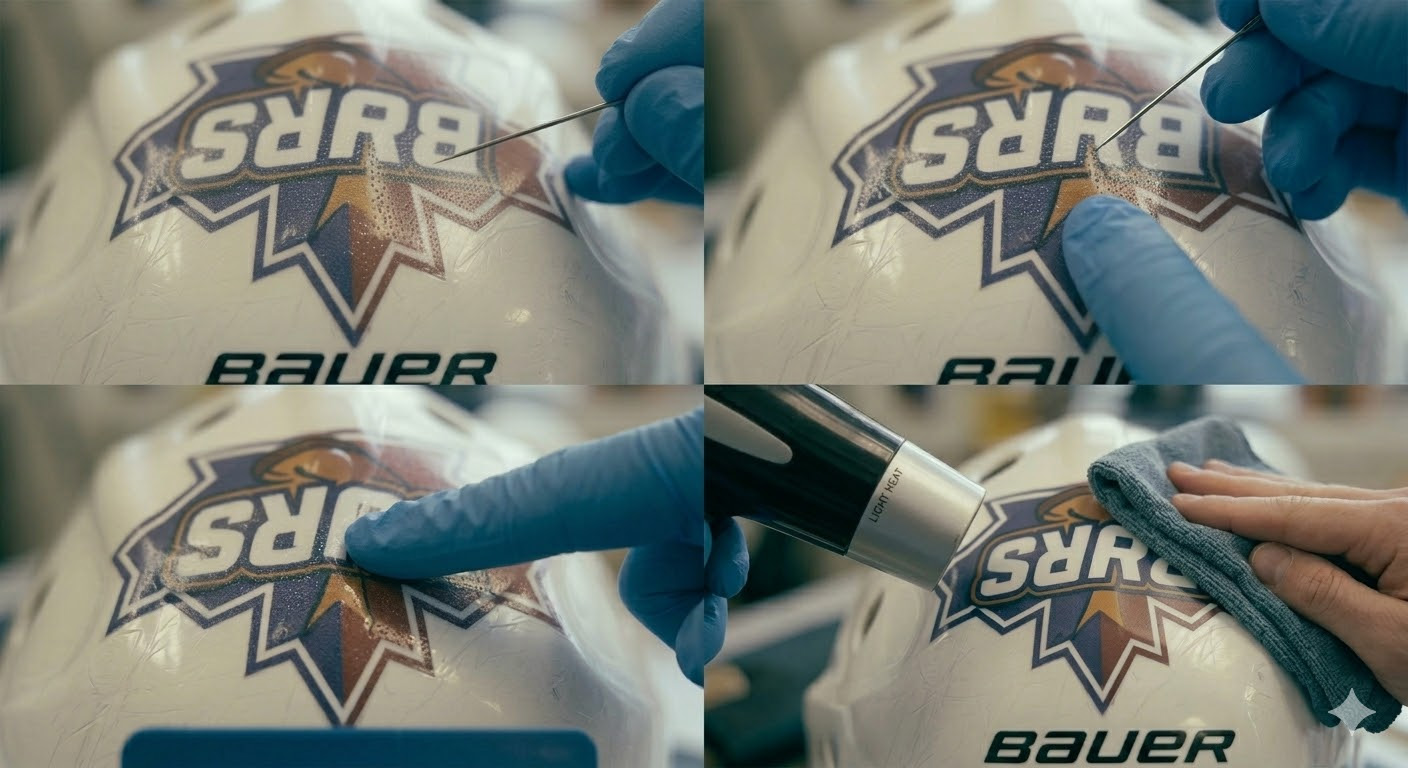
Small bubbles can sometimes occur during installation.
Natural Release
Many small bubbles disappear within 24–48 hours.
Pin Method
- Use a fine needle
- Puncture the edge of the bubble
- Press the air out gently
- Apply light heat afterward
Final Heat Set
Once all decals are installed:
- Warm each decal gently using a hair dryer
- Press edges down firmly using a microfiber cloth
This activates the vinyl memory and strengthens the adhesive bond.
Allow the helmet to sit for 12–24 hours before use.
Care and Maintenance
Cleaning
- Use mild soap and warm water
- Clean with a microfiber cloth
- Avoid harsh chemicals and abrasive pads
Storage
- Avoid leaving helmets in extremely hot cars
- Avoid long exposure to direct sunlight
- Keep away from heaters or heat vents
With proper care, GavWraps decals commonly last multiple seasons.
DIY Skate Wrap Application Guide
These instructions focus on the unique aspects of applying GavWraps to skates. For preparation, vinyl behavior, and heat techniques, refer to the helmet wrap instructions above.
Key Differences with Skate Wraps
- Wraps are designed for the side panels and heel of the skate
- Skates have tighter curves and more complex shaping than helmets
- Seams and panel edges require more precise application
Applying the Side Panels
- Align the decal carefully with the skate’s side panel before applying
- Use tape to create a hinge along the top edge
- Apply from the center outward using steady pressure
- Work slowly to avoid air pockets along seams
Working Around Curves and Edges
- Use gentle heat to soften the vinyl as you apply
- Work in smaller sections for better control
- Use your fingers to press vinyl into tight areas
- If the vinyl creases, lift it, apply heat, and reapply
Heel Area Application
- Position the decal carefully before committing
- Apply from the center and work outward
- Use heat to help the vinyl conform to tighter curves
- Press edges firmly to ensure proper adhesion
Trimming and Finishing
- Trim small excess areas if needed using a sharp blade or scissors
- Avoid cutting too close to edges
- Focus on clean edges along seams and panels
Final Notes for Skates
- Heat is especially important for setting vinyl on skate materials
- Edges and high-contact zones should be pressed firmly
- Some natural wear over time is expected in high-contact areas
Friendly Disclaimer
Every goalie helmet model has slightly different shapes and contours. GavWraps decals are designed to fit most modern masks, but minor stretching and repositioning during installation is normal.
Cast vinyl is forgiving and can be lifted and reapplied during installation. Final adhesion occurs once the decals are properly positioned and heat is applied.
If you have questions during installation, the GavWraps team is always happy to help.